



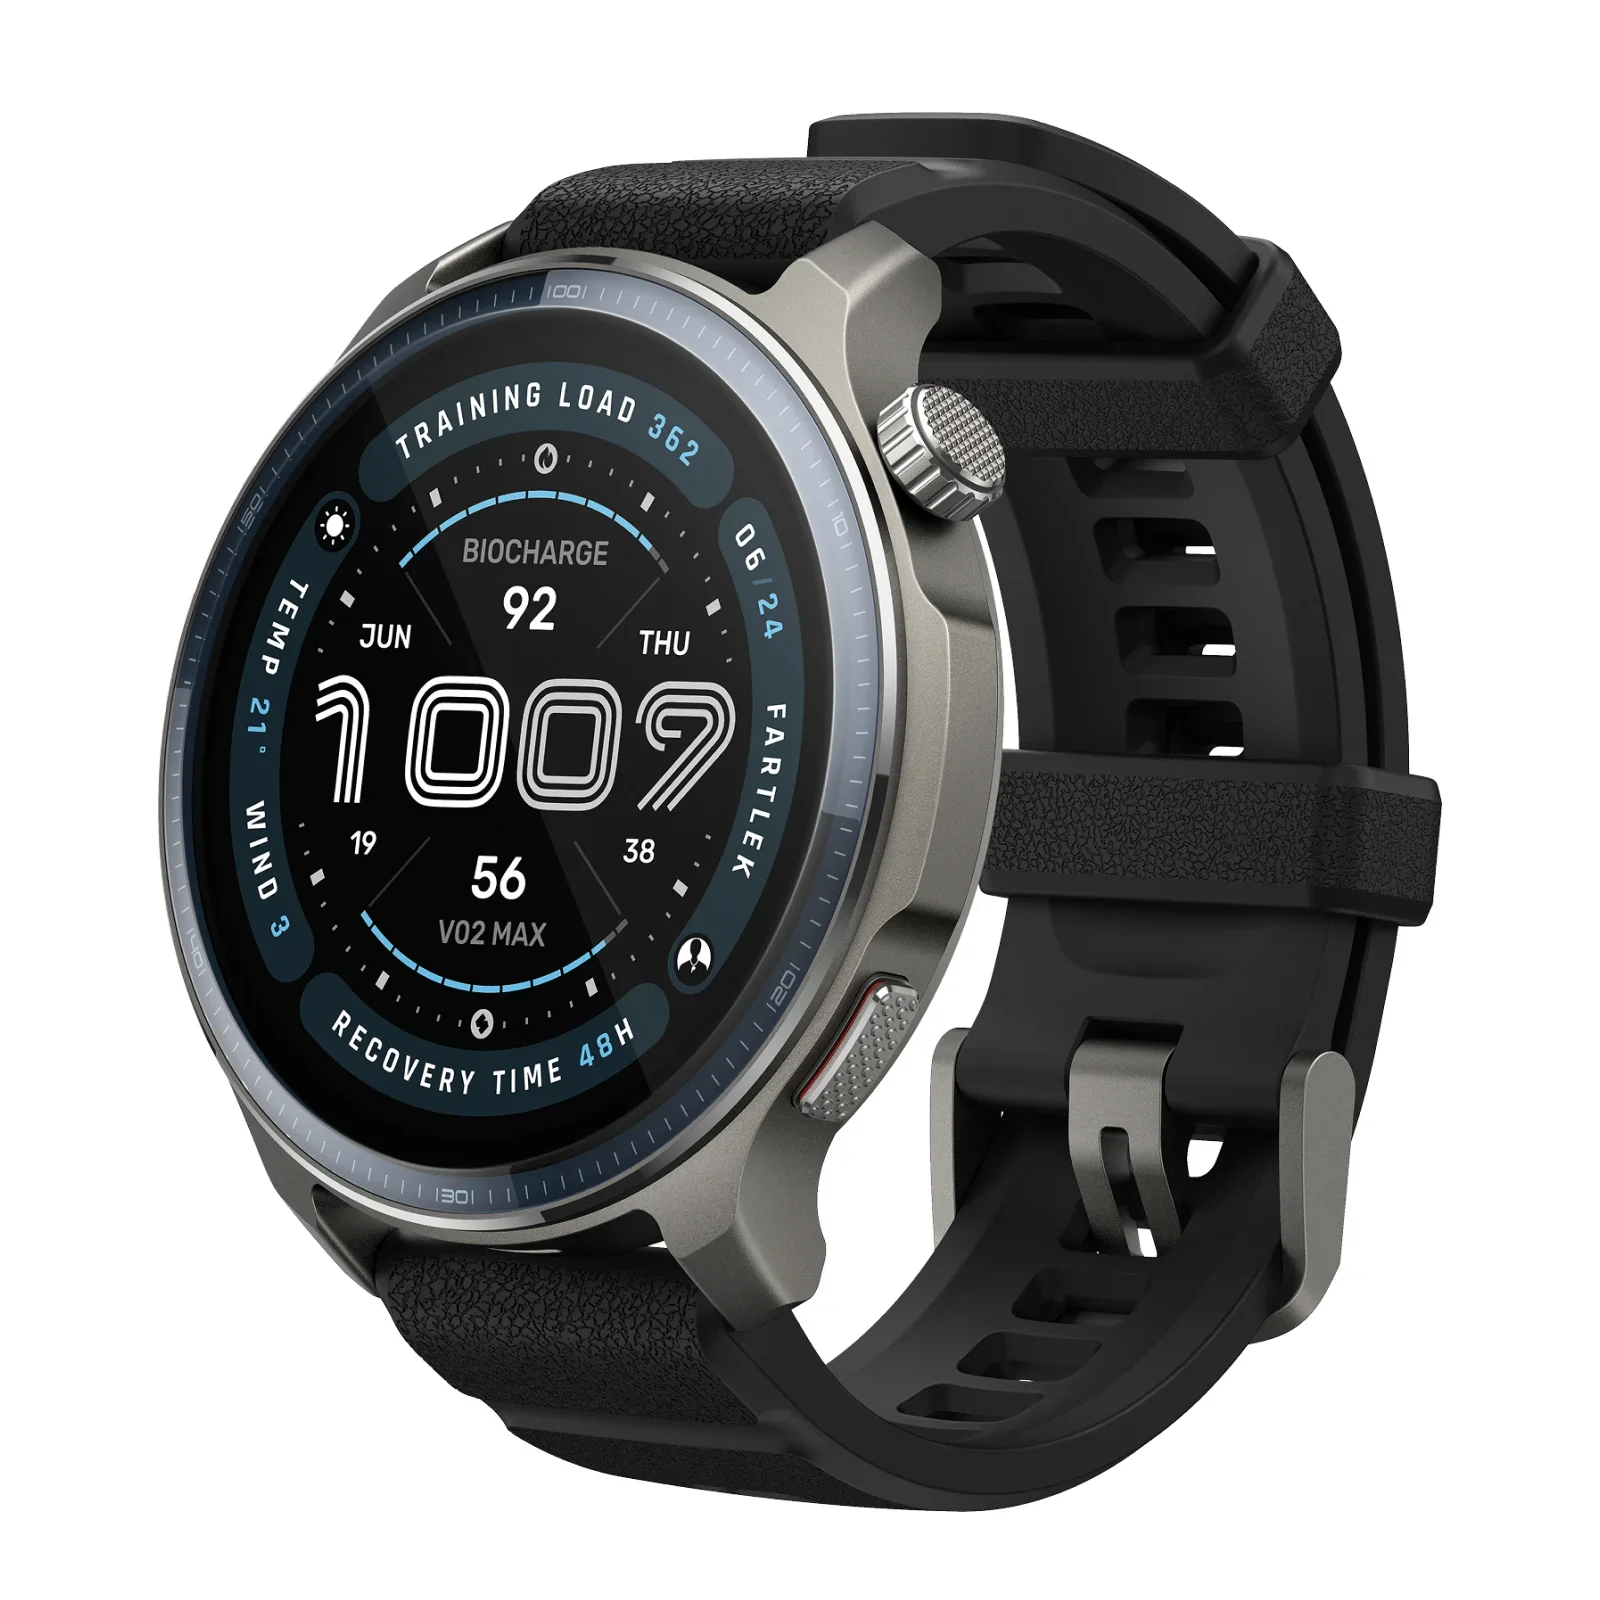
You can finally integrate Amazfit into Home Assistant to monitor, for free, the dozens of sensors your watch provides.
What sensors do our watches provide?
It’s no secret that Amazfit is our favorite smartwatch brand. Despite constantly releasing new models, they still have no competition when it comes to battery life (easily over 15 days).
On top of that, and at a very competitive price, they offer all the features of any other smartwatch. They’re especially useful for tracking physical activity, sleep quality, stress levels, heart rate… Not to mention they also let you control Home Assistant from your watch.
But best of all, you can now also integrate Amazfit into Home Assistant to monitor all these sensors and use them in your automations — completely free — thanks to the integration developed by our community.



Integration in Home Assistant
To integrate Amazfit into Home Assistant, just follow these steps:
- On your mobile device, download and install the Zepp app and pair your watch.


- From the bottom menu, go to Device and tap APP STORE. This takes you to the official Zepp store, where you’ll find our app under Tools or by searching for «HA Companion.»
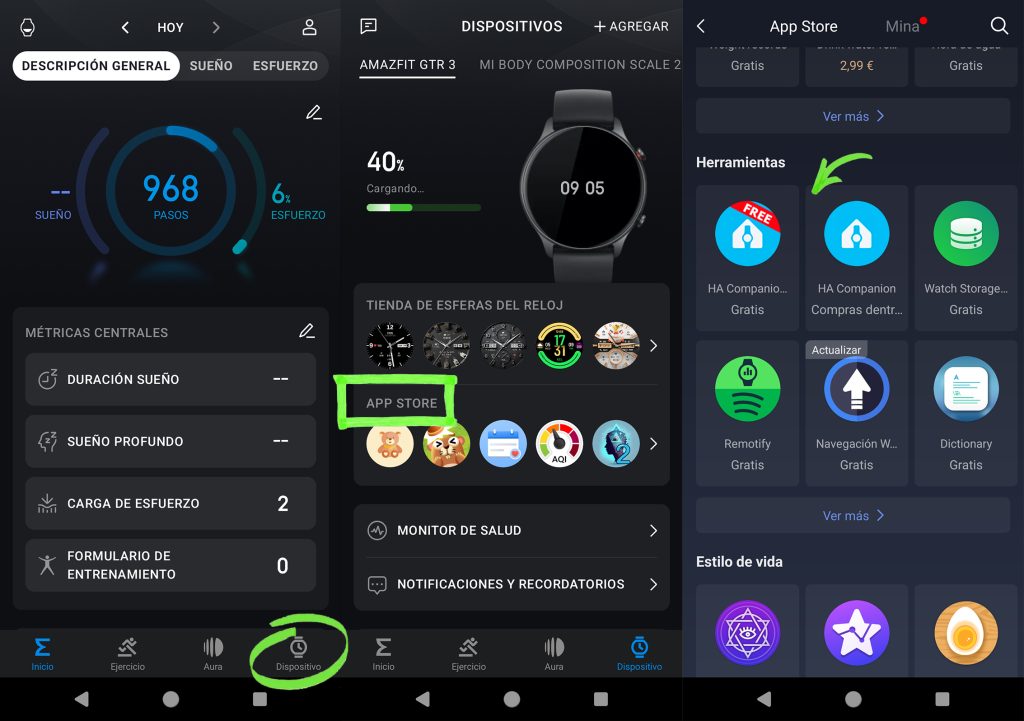
- Open the free or extended version, tap the heart to leave us a like in the store 🥰, then tap Install.
- Go back to the device menu and tap the «More» icon inside the «Device App Settings» block, then tap the app to access the Settings interface. Here you’ll need to fill in the following:
- Local address of your HA instance. Enter your local Home Assistant address, which in most cases will match the example shown.
- External address of your HA instance. Enter the domain you use to access Home Assistant remotely, so the watch keeps working when you’re away from home.
- Long-lived access token. Generate this from Home Assistant. Open the HA app on your mobile device, tap your username in the side menu, go to Security, scroll to the bottom, tap Create Token, and give it a name (e.g., «Amazfit»). Tap the icon next to the code to copy it, then go back to the Zepp app to paste it.
- Once the watch is connected to Home Assistant, just below you’ll find a field where you can customize the name of the sensor created in HA with all your watch’s information.

- After opening the app on your watch, go to Home Assistant > Settings > Developer Tools > States and search for the name you entered in the previous step. You’ll find an entity packed with data.
- Now open HACS, click the three dots in the top-right corner, and select «Custom Repositories«. In the «Repository» field, enter the following URL, select «Integration», and click «Add»:
- Search for «HA Companion«, click Download, and restart HA.
- Once done, go to Settings > Devices & Services > Add Integration and search for «HA Companion». In the setup wizard, re-enter the name you used in step 5 (e.g., ‘active_2_nfc_round_tito’).
- Open the «HA Companion» block in your integrations panel and check out the huge number of sensors it provides from your watch (which may vary depending on your model). Below is an example of the list!